Measurement technology is alive!
The NTB Interstate University of Applied Sciences Buchs set a strong accent with the international symposium "Production metrology for practice" on 3 and 4 September. 320 visitors were able to convince themselves of the current measurement technology know-how - in specialist lectures and at 54 manufacturers.

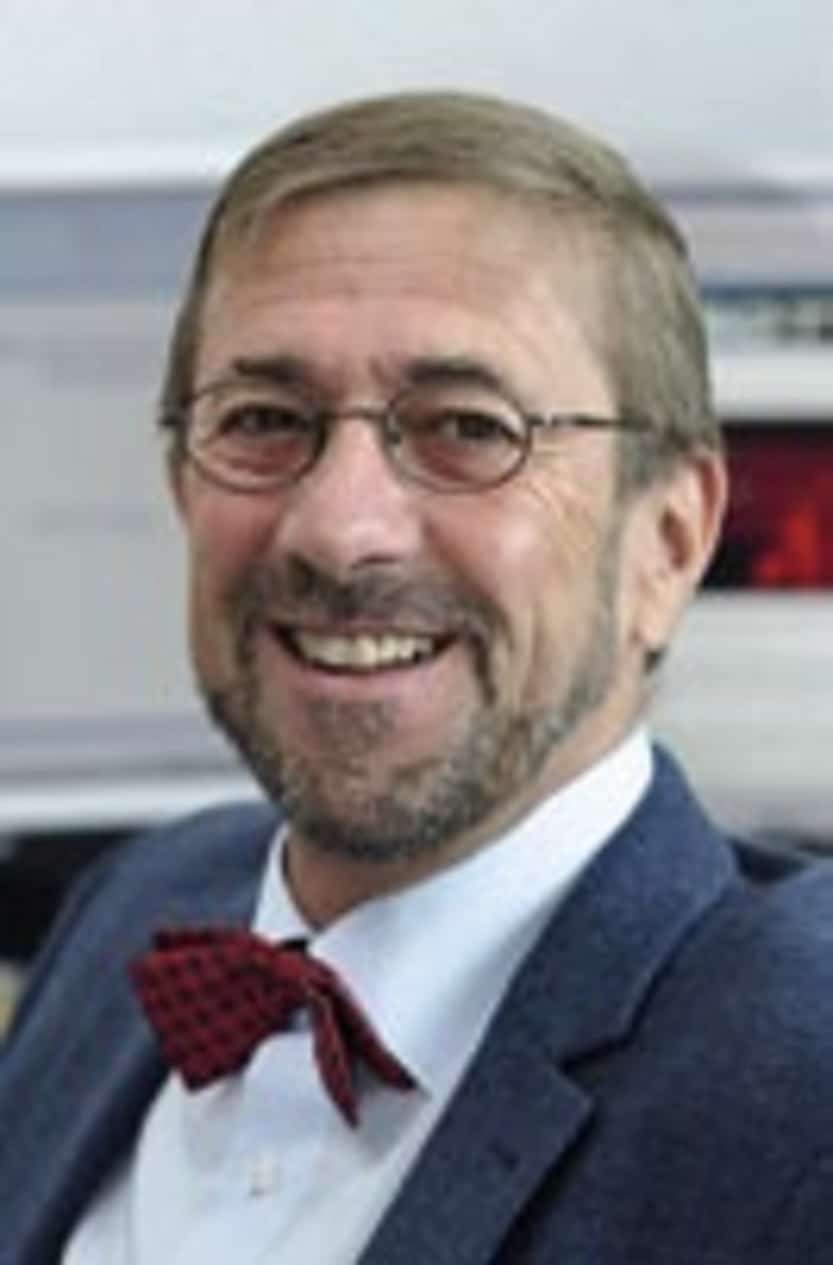
Zor the fifth time, the Institute of Production Metrology Materials and Optics (PWO) and its director Prof. Dr. Ing. Claus Keferstein organized the biennial conference, this time under the motto "Taking new paths - creating value". The organizer also ventured into new territory with an attractive conference concept. Parallel to the specialist lectures, an exhibition was held that almost approached the importance of the Basel "Prodex" trade fair. The list of exhibitors included 54 leading manufacturers of measurement technology. New this year was that on the 2nd day of the conference the exhibitors themselves gave short presentations, held user meetings and presented their products - for the trade visitors, measurement technicians from Switzerland, Austria and Germany, an ideal platform to deepen their knowledge
The numerous technical presentations focused on topics such as coordinate and surface metrology as well as coating metrology and process optimization. Introduced by reports on current trends, in-depth explanations by specialists followed in parallel workshops.
Practically in demand
In his introduction, Prof. Claus Keferstein got straight to the point and asked: "Is fast and accurate measurement cheap and process-oriented measurement expensive? Or are they complementary? Do you sometimes need to measure quickly, but not so accurately?" Questions, in other words, that occupy practitioners on a daily basis. Keferstein doubled down on the
Spoilt for choice
magic QM triangle after: "You can't have everything, if you want the quality to be high, then it costs money and you need time. If I make the quality lower, I can reduce the costs or shorten the time. Or if I need to measure faster, then it costs, but I can't have all three."
Such contradictions are of considerable relevance for measurement technology in plants. They have to constantly ask themselves: Where do you need what? The customer demands 100 percent good workpieces. At the same time, cost pressure is increasing due to faster changeover and production, and delivery times are becoming shorter and shorter with smaller batch sizes. All of this has an enormous impact on the measurement and inspection effort. In essence, according to Keferstein, it is the type of inspection process that determines how the metrology technician can perform his tasks. Today, he is spoilt for choice. Coordinate and multi-position measuring machines, reference surface and surface measuring machines, length control: They cover a wide range between accurate, fast and cost-effective.
What does "exactly" mean?
The tasks can be approached in a more relaxed manner if the term "accuracy" is scrutinized, said Keferstein. Basically, it is about ensuring a function. A suitable test characteristic is sought for this functional characteristic. Ambiguities are disastrous. What is the use of countless measurement data if the product still does not function? Keferstein: "The correlation between the test characteristic and the functional characteristic must be correct, and then comes the second question, namely how can I measure this test characteristic?
The distinction between absolute accuracy and repeatability plays an important role here. Absolute accuracy is used for acceptance by the customer, assured properties of the product are checked. In addition to a traceable standard, this requires precise knowledge of the ambient conditions such as temperature and vibrations, because these have an influence on the measurement uncertainty. And this is always "task-specific", says Keferstein. The bar is set high for absolute measurements: they must be reproducible worldwide, i.e. they must be just as valid at VW in Brazil as they are at the main plant in Wolfsburg.
The case is different for repeatability. Here, one cannot speak of measurement uncertainty. Keferstein: "Here I only look at the process. This is about how stable the process is, and that is a company-specific matter." Once the process is set, repeatability can be used to easily and inexpensively determine whether a workpiece or its functional feature is drifting.
Measure in production
The trend towards bringing measurement technology ever closer to production has increased enormously in recent years. The classic measuring room far away from the direct process is likely to play only a minor role in the future. Keferstein showed many examples of practical applications: For measurement technology in the manufacturing process, measurement on the process, measurement close to the process for spot checks and specifications.
Kefstein sees the challenge in the next few years in the testing processes in manufacturing, because in this area one can measure absolutely or also with repeat accuracy. More and more modern measuring methods are looking for optimal solutions here. Whether optical sensors, scattered light or equator, out-of-round measurements on machine tools or process-oriented special designs of coordinate measuring machines, Keferstein's conclusion is that high quality, extremely short times in the process and low cost no longer have to be a compelling contradiction: "You just have to use the right strategy and the right measuring methods." Today, metrology know-how is the key to inexpensive and high-quality products.
Tactile or visual?
Tobias Hercke, responsible for surface metrology at Daimler AG, spoke about the trends in surface metrology. From the user's point of view, it is important that the surface of a component fulfills its function. The main task of metrology is therefore to ensure that the surface has a functional relationship.
Based on his long experience, Hercke has developed his "own philosophy": "A surface consists of the sum of its structural elements. Whereby the elevations, grooves and depressions are assigned certain properties, vertically and laterally in the µm range. He emphasized that he has always done well with this.
In his lecture, he focused on the question of whether profile or area-based, i.e. tactile or optical, measurement is advantageous. In an inventory
Profiled is the standard
he compared the strengths and weaknesses of both methods. From the user's point of view, profile-based measurement is a "bread-and-butter measurement method", the basis for evaluating quality and functionality in many branches of industry. Tactile measurement is universally and robustly applicable and companies can rely on well-trained personnel. Weaknesses of the method include the low information content of the measurements and the longer measuring times. The standardization is mature, but so complicated that it can hardly be overlooked by the designer and user.
The large information content and the short measuring times speak in favour of the areal optical methods. They allow good visualization possibilities and thus better evaluation of the measurement results. Compared to tactile methods, however, optical methods are still in a "discovery phase" and are concentrated on special industries. In terms of standardization, the first generation of ISO 25178 is still at the beginning.
Not a hard contrast
For the practitioner, the question increasingly arises: "Do the ends justify the means? According to Tobias Hercke, surface (optical) measurement methods must increasingly help to solve problems that cannot be solved with standard measurement methods, or only with great effort. It is foreseeable that in standardization and practice profile and surface will "move closer together". Although the future will see "frequently the same as before" with many good measuring methods, Hercke sees the advantages of optical surface metrology in the fact that, for example, further progress in the service life of engines and components can be expected with methods that measure surfaces quickly.
Always challenged anew
Prof. Nikolaus Herres from NTB gave an overview of the latest coating measurement techniques. Very many components and products function thanks to coatings, from simple door handles and drills to complicated circuit boards, sensors, glasses and optics. Modifications can significantly improve their properties. "Coating means material bonding," Nikolaus Herres noted, thereby immediately naming the difficulties faced by suitable measurement methods. After all, the target variables are manifold: chemical composition, roughness, layer thickness, porosity, residual stress, hardness and wear, to name but a few.
Special conditions apply when measuring coatings: Depending on the method, a probe extracts information
The end justifies the means
from different "depths" of the sample. The detection sensitivity depends on the signal contrast, and the suppression of interfering effects can become a problem. And good "spatial resolution" is important if microscopic defects are to be localized
The many target variables require a wide variety of measurement methods. Herres: "They can be 'special' because the base material always plays along". And because the manufacturers are always developing new coatings, they are always challenging the measurement technology anew: "That's a good thing," Prof. Nikolaus Herres said in conclusion.
Many highlights
A highlight of the conference was the presentation by Prof.Dr.Ing. Gerd Jäger (Ilmenau University of Technology). Jäger is considered one of the world's leading researchers in micro- and nanometrology. He presented a 3D coordination measuring device that achieves accuracies of a few nanometers. The participants were also able to find out about the latest research funding opportunities and discussed the future of metrology training in Switzerland. This was under the impression that the state is increasingly withdrawing from training and that the world of metrology is becoming more and more complex. This will lead to more and more company-funded special training tailored to company needs, was the opinion of those present
Measurement technology generalists, as embodied by Prof. Claus Keferstein, could thus become increasingly rare. In his 19 years as a lecturer and institute director at NTB, the conference director built up the Institute for Production Metrology Materials and Optics (PWO) into a training and research centre with 20 scientific staff today. Now he has retired, and Prof. Dr. Ing. Andreas Ettemeyer will officially become his successor. The great appreciation for Claus Keferstein's work was once again confirmed by the success of his "farewell" conference.


