Highlights of Control 2015
917 exhibitors from 32 nations, 25 903 trade visitors from 95 nations, a participation of foreign manufacturers and suppliers that has grown to around 30 %, as well as a 25 % share of foreign trade visitors; these figures clearly show that the interest in quality assurance continues unabated this year.

In Stuttgart, several manufacturers showed their solutions and new products for quality assurance. We briefly present some of them in the following sections.
Intelligent sensor automation system
Hexagon Metrology revealed for the first time at Control plans to introduce a new sensor universal interface for Leitz ultra-high accuracy coordinate measuring machines (CMMs). The SENMATiQ interface allows intelligent sensor automation with fully automatic sensor changes within part programs - enabling even the most complex measurement tasks to be handled by a single CMM. SENMATiQ is directly integrated into the CMM quill and uses an internal identification system for immediate recognition of the sensor. The identification system also automatically checks the status of the sensors to ensure smooth changeovers and rapid measurements. There is no need to recalibrate the sensors between the different measurement methods applied. Due to its universal switch and intelligent sensor module, SENMATiQ supports all common sensor types. The market launch will take place in the course of the year.
Rotary tables of highest precision
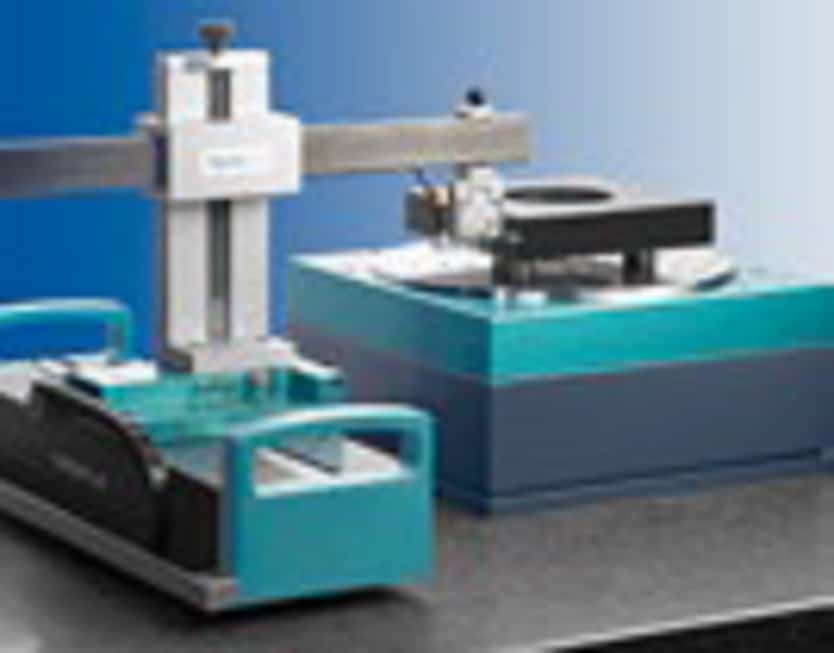
The basis of these CNC-controlled rotary indexing tables of the RT series is the vacuum-air bearing technology developed by Kunz precision and proven over many years. This makes it possible to implement low-noise rotary movements and also to keep the overall height as low as possible. The drive is provided by piezo motors. A high-quality angle measuring system with resolutions of up to 0.01 angular seconds serves as the encoder. The rotary table achieves positioning accuracies of 0.5 angular seconds over the entire 360° range. For comparison: One angular second of the earth's circumference at the equator corresponds to just 30 m. In combination with the high-quality STRAIGHT-line or STRAIGHT-set straightness measuring systems, extremely demanding angle test stations with previously unattained accuracies can be realized. The high-precision rotary tables are mainly used in precision manufacturing, calibration laboratories and government measurement institutes.
Measurement at the touch of a button
Digital measuring instruments are indeed reliable and safe test methods. However, a large proportion of the measurement uncertainty can always result from incorrect application. The new ZEISS O-SELECT optical measuring system reduces this influence in the quality assurance process. Thanks to a high degree of automation, 2D measurements can be performed quickly and reproducibly. With this measuring system, ZEISS is addressing companies from a wide range of industries, from the automotive and electronics industries to plastics processing. Practical examples include stamped and bent parts, injection molded or laser-cut workpieces. ZEISS O-SELECT is suitable for quickly checking the dimensional accuracy of distances, radii or angles.
Factors such as imaging depth and illumination play a decisive role in optical measurement. Incorrect settings can cause systematic measurement errors unnoticed by the operator. ZEISS O-SELECT automatically eliminates blurring at edges. The measuring system independently selects the correct distance between the camera and the object, focuses on the workpiece edge and maximizes the contrast. The user is also relieved of the task of searching through directories for the correct program. This is because the ZEISS O-SELECT software compares the programs already created with the placed workpiece and then reliably opens the correct one. The position of the workpiece is automatically detected by the measuring system; manual alignment is no longer necessary.
Intelligent measurement of edge, width and gap
As the only sensor in its class, the PosCon 3D optical sensor, which was awarded the "MessTec & Sensors Masters 2015", combines features that were previously only found in elaborate laser measurement systems. Thanks to the integrated touch display, the sensor can be set easily and quickly. Functions are selected and saved directly via the display. The intuitive menu offers numerous modes, covering a wide range of measurement applications. Thanks to qTarget™, Baumer's efficient design principle, the sensor's light beam is referenced to the mounting holes of the housing by design. This saves time and costs during commissioning, as the sensor can be mounted without additional alignment effort. Due to the integrated coordinate transformation, the PosCon 3D can be positioned laterally over the object up to an angle of ±30° even in tight spaces.
Behind the housing is a powerful measuring principle that uses the triangulation principle to map the laser line projected by the sensor onto a two-dimensional optical receiver. This measuring principle makes it possible to measure objects that move towards or away from the PosCon 3D within the measuring field without changing the measurement result. The edge position is determined precisely regardless of the distance to the sensor, i.e. even in the case of radial runout. Likewise, the edge sensor precisely measures objects with different or changing colors and surfaces.
The PosCon 3D can be used in numerous applications. For example, for position measurement of a paper edge in the printing industry. The edge sensor also measures the width or thickness of individual objects and thus clearly detects whether, for example, two objects are mistakenly leaving the stack at the same time.
On the track of pollen
At i3mainz, Institute for Spatial Information and Measurement Technology at Mainz University of Applied Sciences, a solution for personalized pollen collection and methods for the automatic evaluation of the type and number of collected pollen are currently being developed. In a first step, the pollen is collected on adhesive strips. These are worn on the body by the test person. The pollen collected in this way is then scanned, identified, classified and quantified in a second step. Currently, pollen concentration in the atmosphere is determined manually by experts, which is a time-consuming and therefore costly procedure. The new solution demonstrates a new approach to automated determination of pollen concentration using image analysis methods. The type and number of pollen collected on adhesive strips are automatically classified. First, the digitized images from a light microscope are segmented using image processing techniques, followed by feature detection for pollen classification. For the segmentation, properties such as total length, diameter, surface area, roundness and texture features of the individual pollen are determined. These properties are used to determine the pollen type.
In addition, the project partners developed a pollen collector with an associated app. Parallel to the collection of pollen, the device stores additional data such as geographical position, air pressure, humidity and temperature. With the help of the app, the allergy sufferer enters the subjectively perceived severity of symptoms in the nose, bronchial tubes and eyes into a diary and stores this data in a central database. The aim is to correlate physical symptoms with pollen concentrations.


